

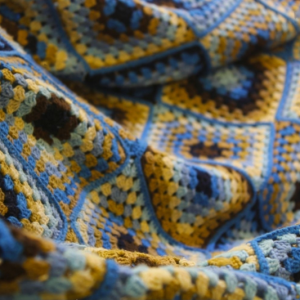
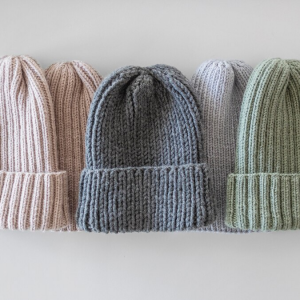
Embarking on a knitting journey is an exciting endeavor, and at the beginning lies the fundamental skill of tying a slip knot. Just as knitting needles are the tools that bring yarn to life, the slip knot is the gateway to a myriad of stitches and patterns. In this beginner's guide, we'll unravel the mystery behind the slip knot and set the stage for your knitting adventures.
The Slip Knot: A Foundation for Creativity
Understanding the Purpose
A slip knot is the starting point for many knitting projects, providing a secure loop on your needle from which you can build a foundation of stitches. This simple yet crucial knot is where the magic begins, allowing you to seamlessly cast on stitches and set the stage for your knitting masterpiece.
The Essential Tools: Knitting Needles
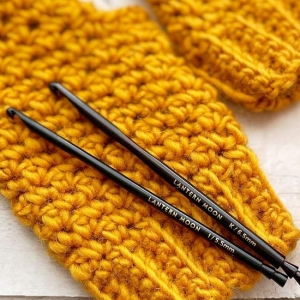
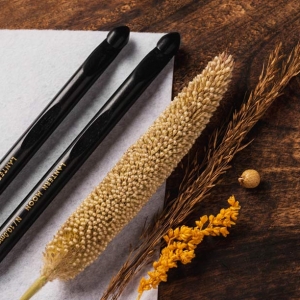
Before delving into the intricacies of tying a slip knot, it's essential to familiarize yourself with the tools of the trade – knitting needles. These slender instruments come in various materials and sizes, each serving a specific purpose. Whether you opt for single-pointed knitting needles for knitting flat pieces, circular knitting needles for seamless knitting in the round, or double-pointed knitting needles for small circumference projects, they hold and manipulate the yarn as you weave it into intricate patterns.
Step-by-Step Guide: Tying the Perfect Slip Knot
Materials Needed:
- Yarn: Choose a yarn of your preference, considering factors such as weight, texture, and color.
- Knitting needle sizes: They come in various sizes, so carefully choose needles that are appropriate for your yarn.
Step 1: Creating the Loop
Hold the yarn in your dominant hand, leaving a tail of a few inches. Begin by creating a simple loop by crossing the yarn over itself. This loop will form the basis of your slip knot.
Step 2: Tucking and Pulling
Tuck the end of the yarn through the loop from underneath, creating a loose knot. The key here is not to pull too tight at this stage, ensuring you have room to adjust the knot later. The loop should be large enough to slide onto the knitting needle easily.
Step 3: Tightening the Knot
Gently pull the ends of the yarn to tighten the knot. Aim for a snug fit – tight enough to hold its shape but loose enough to adjust if necessary. The goal is to achieve a knot that sits comfortably on the needle without being too tight or loose.
Step 4: Sliding onto the Needle
Hold the slip knot between your thumb and forefinger, then slide it onto one of your knitting needles. Ensure the knot is close to the tip but not so tight that it's difficult to move along the needle.
Step 5: Make Adjustments if Necessary
If the slip knot is too loose or tight, don't hesitate to untie it and start again. Achieving the proper tension at this stage ensures a smooth and even foundation for your subsequent stitches.
Embrace Variations
While the basic slip knot is the foundation, don't shy away from exploring variations. Some knitters develop their unique methods based on personal preferences or specific projects. Embrace the creativity that comes with making the process your own.
Navigating Challenges: Troubleshooting Slip Knot Issues
- Preventing Tight Knots: If you find your slip knots consistently too tight, pay attention to how firmly you pull the ends. A gentle tug should be sufficient to secure the knot without compromising flexibility.
- Adjusting for Slippery Yarns: Slippery or silky yarns can pose a challenge when tying slip knots. Consider slightly tightening the initial loop before pulling the yarn through to counteract any slipping.
- Ensuring Consistent Loop Sizes: Maintaining consistent loop sizes is crucial for an even and professional appearance. Regularly check your slip knots against your knitting needle, adjusting the tension as needed.
Advanced Applications of Slip Knots: Beyond Casting On
- Joining Yarn Mid-Row: Slip knots aren't reserved solely for casting on. In advanced knitting, you might encounter patterns that require joining a new yarn mid-row. Tying a slip knot with the new yarn allows for a secure and seamless transition.
- Creating Decorative Elements: Innovative knitters often use slip knots to introduce decorative elements within their projects. Whether incorporating contrasting colors or creating intricate patterns, the slip knot becomes a versatile tool for expressing your unique style.
The slip knot, a seemingly simple loop, connects you to a rich tradition of creativity and craftsmanship. If you want more information on this topic, read this other blog.
Source by- https://medium.com/@lanternmoonhandcrafted/how-to-tie-a-slip-knot-beginners-guide-9f5ba0575ccf