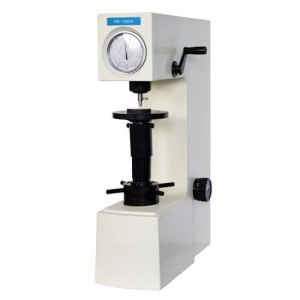
Notwithstanding their durability, Vickers hardness testers are susceptible to several problems that compromise the precision and dependability of their results. Here are some common problems you might encounter:
Machine-related issues
- Inaccurate measuring microscope: Measurements of the indent diagonals can be erroneous due to misaligned lenses, poor calibration, or dirty optics.
- Faulty indenter: The hardness calculation may be impacted by an indenter that is worn, chipped, or contaminated, which can result in erroneous indent shapes.
- Insufficient or dirty hydraulic fluid:The force application can be impacted by low fluid levels or contaminated fluid, which can produce inconsistent outcomes.
- Vibration:The machine may move slightly during indentation due to vibrations from the surrounding environment, which could compromise the accuracy of the measurement.
Operator-related issues
- Improper sample preparation:Inaccurate readings can result from indent formation being impacted by uneven surfaces, scratches, or improper polishing.
- Incorrect force application:Inaccurate hardness values can result from using the incorrect force or from not holding it for the required amount of time.
- Incorrect measurement of indent diagonals:Measurements can be off if the microscope is not properly aligned or if the wrong magnification is used.
Environmental issues
- Temperature fluctuations:Significant temperature variations can have an impact on the indenter and material characteristics, which can affect the hardness measurements.
- Humidity: Excessive humidity can cause condensation on the microscope lenses or rust on the indenter, which can both impair accuracy.
- Dust and dirt:Inconsistent results may arise from the machine's moving parts and optical components being interfered with by dust and dirt.
Other issues
- Calibration: To guarantee accurate readings, the device and measuring microscope must be calibrated regularly.
- Software errors: Erroneous hardness values may arise from software bugs or glitches that impact data processing.
Tips for preventing problems
- Continuous machine calibration and maintenance.
- Appropriate instruction for operators regarding proper force application, sample preparation, and measurement methods.
- Stabilizing the temperature, humidity, and cleanliness of the testing environment.
- Adhering to the guidelines and suggested procedures provided by the manufacturer.


