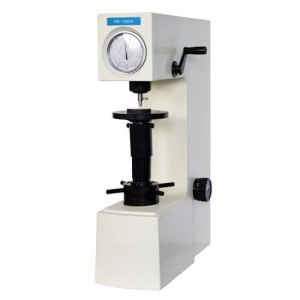
In order to guarantee precise and trustworthy results, using a Vickers hardness tester requires carefully regulated procedures. Here's a general guide:
Preparation:
- Choose the right test location:Pick a stable, level spot on the material that is free of oxides or scratches. To get rid of impurities, clean the test area with alcohol or another appropriate solvent.
- Mount the specimen:To guarantee stability during testing, a suitable holder may need to be mounted on thin or small materials.
- Set the test parameters: Variations in test loads and dwell times are necessary for distinct materials. For suggested settings, refer to the applicable standards or the tester's manual. Vickers hardness testing commonly uses test loads ranging from 1 to 100 kgf and dwell times of 10 to 15 seconds.
- Calibrate the tester:To guarantee precise measurements, calibrate the tester on a regular basis in accordance with the manufacturer's instructions.
Testing:
- Position the indenter: Gently place the diamond indenter onto the selected test site. Make sure the indenter tip is centered at the desired location and perpendicular to the surface.
- Apply the test load: Using the controls on the machine, slowly apply the pre-determined test load to the indenter. For the designated dwell time, hold the load.
- Remove the load: Release the test load gradually and lift the indenter.
Measurement:
- Measure the indentation diagonals:Using a microscope equipped with an appropriate graticule, determine the diagonal dimensions of the square-shaped impression the indenter left behind. Calculate the average of the two diagonal measurements.
- Calculate the Vickers hardness: Apply the formula HV = 1.8544 * F / d^2, where d is the average diagonal length in millimeters, F is the test load in kgf, and HV is the Vickers hardness value.


